Love how pretty this set is 💕
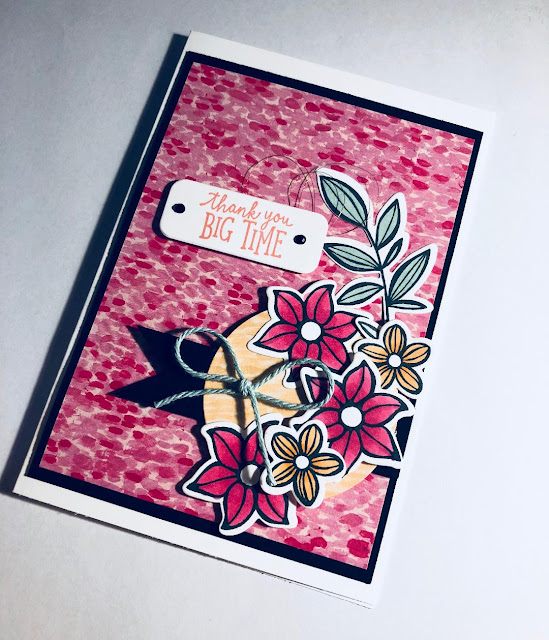

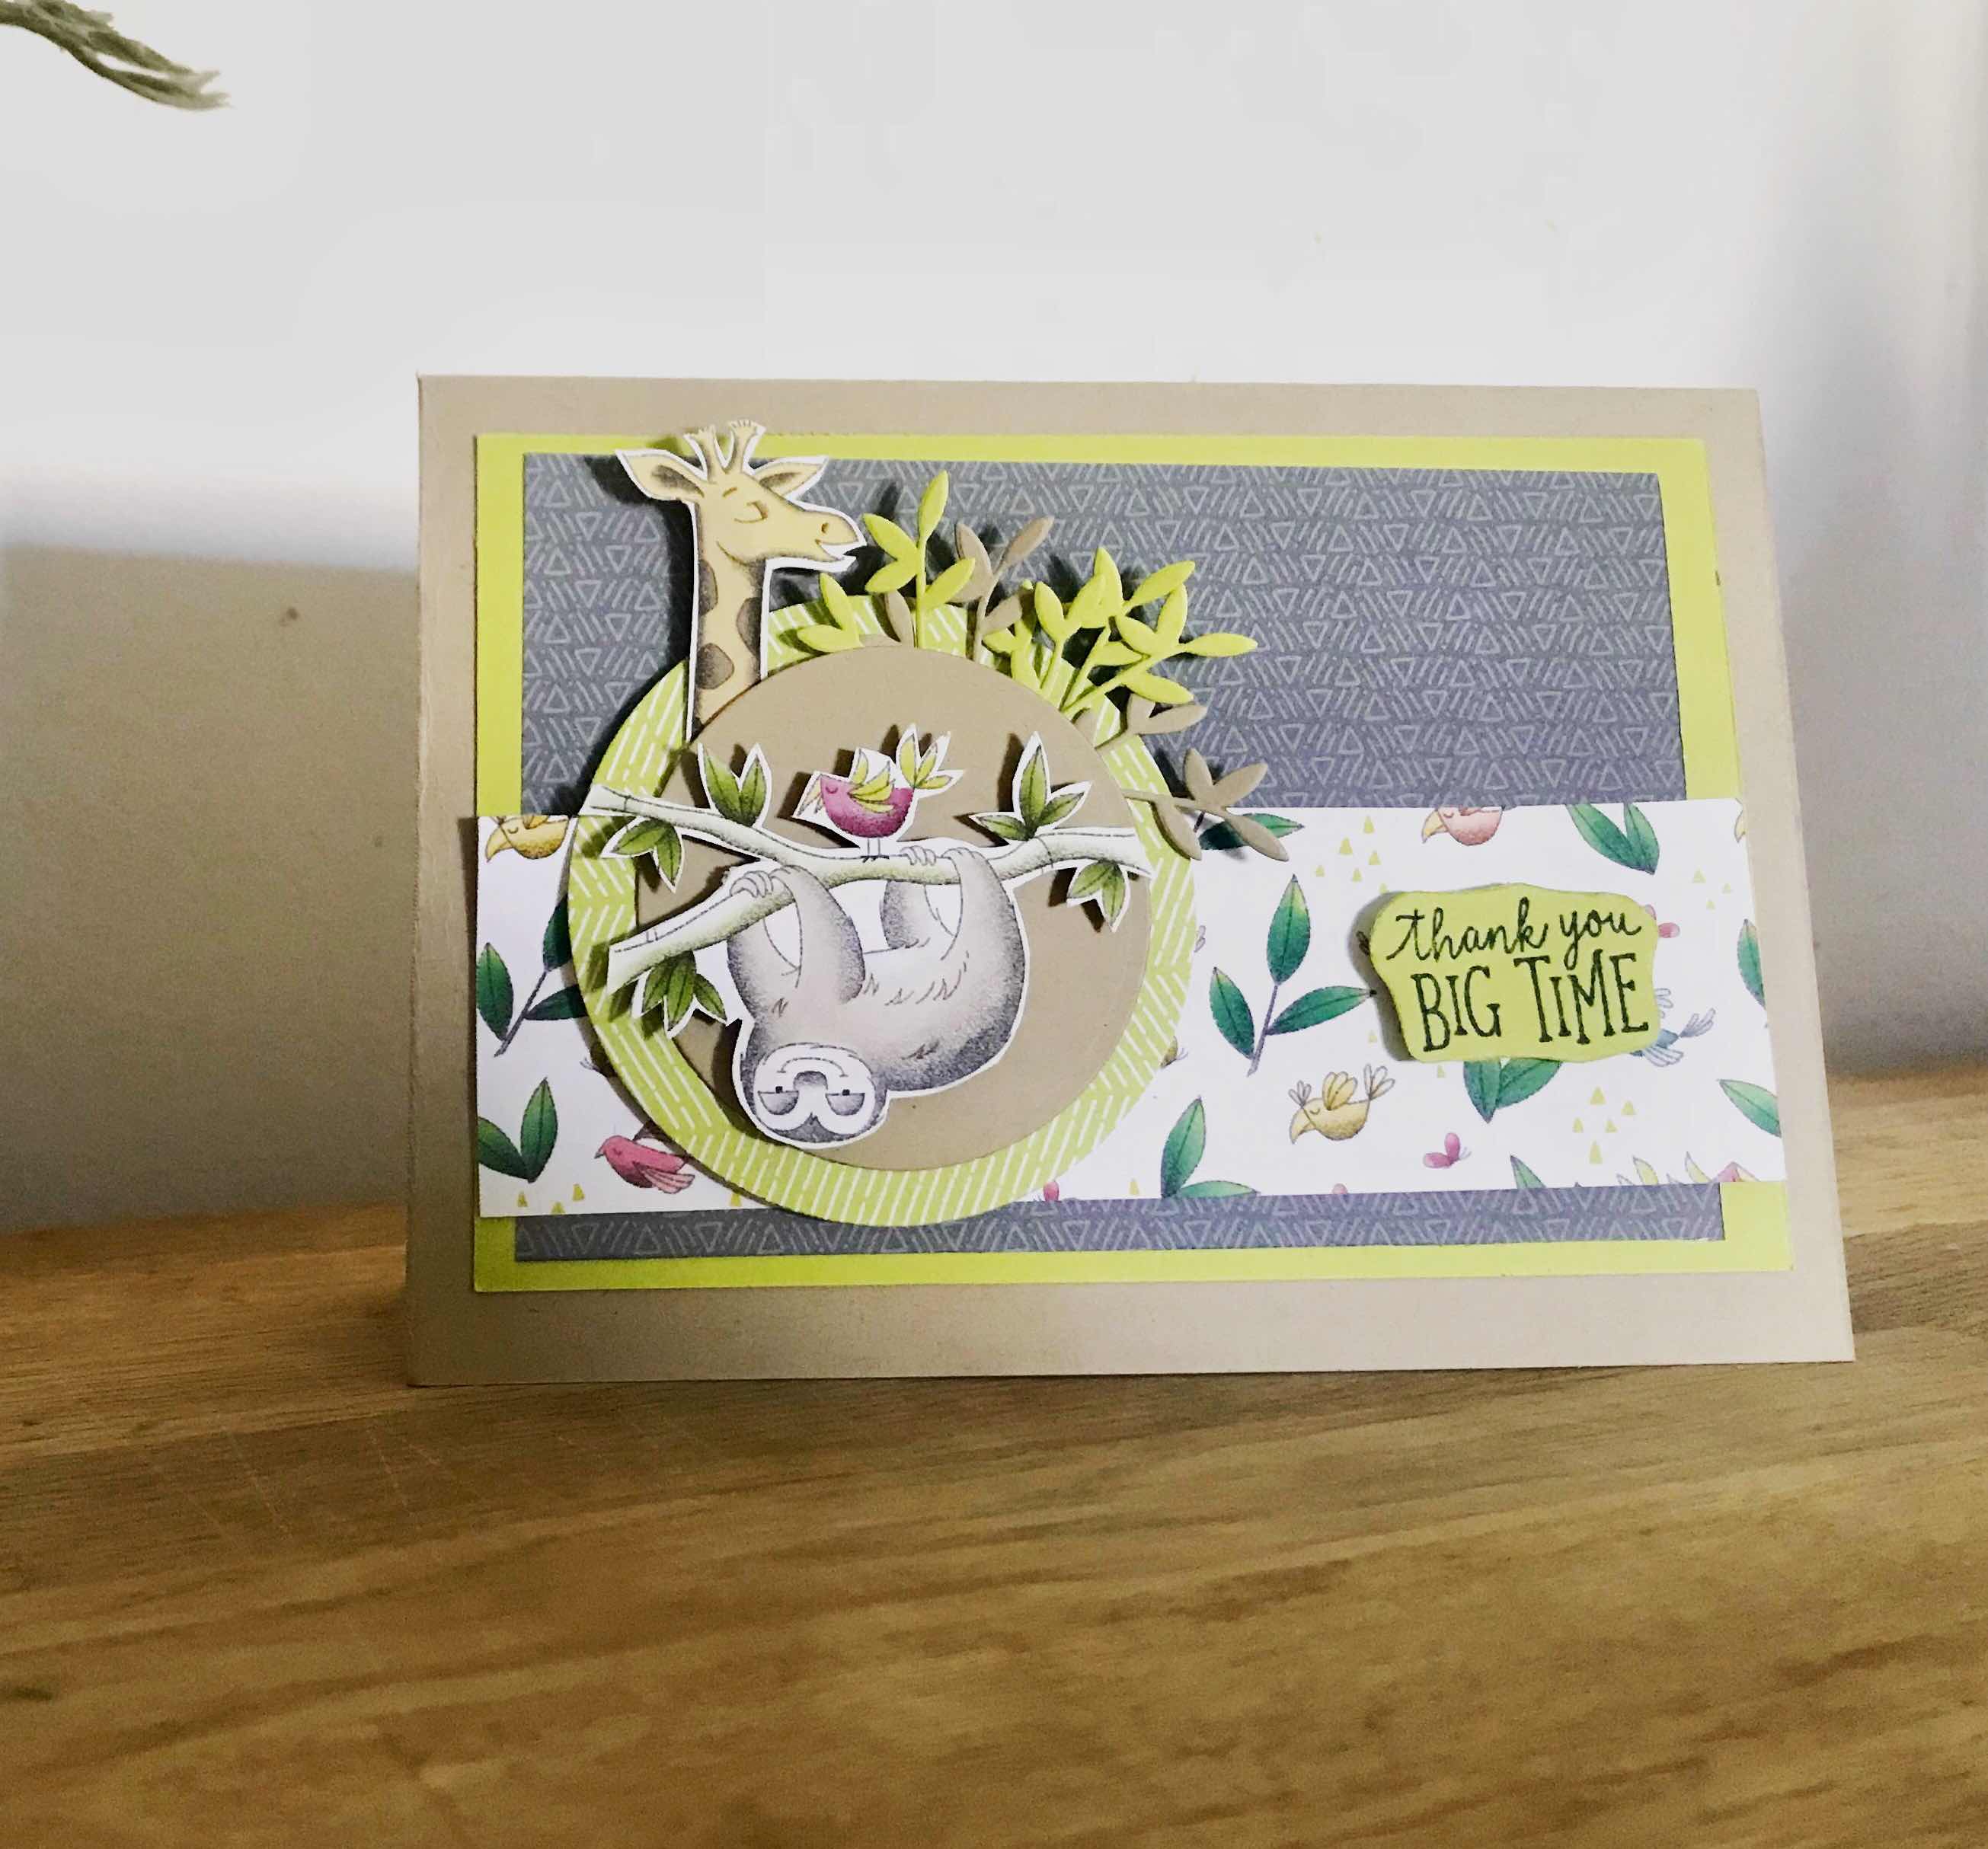
And I love the way it goes nicely with the Garden impressions designer papers!
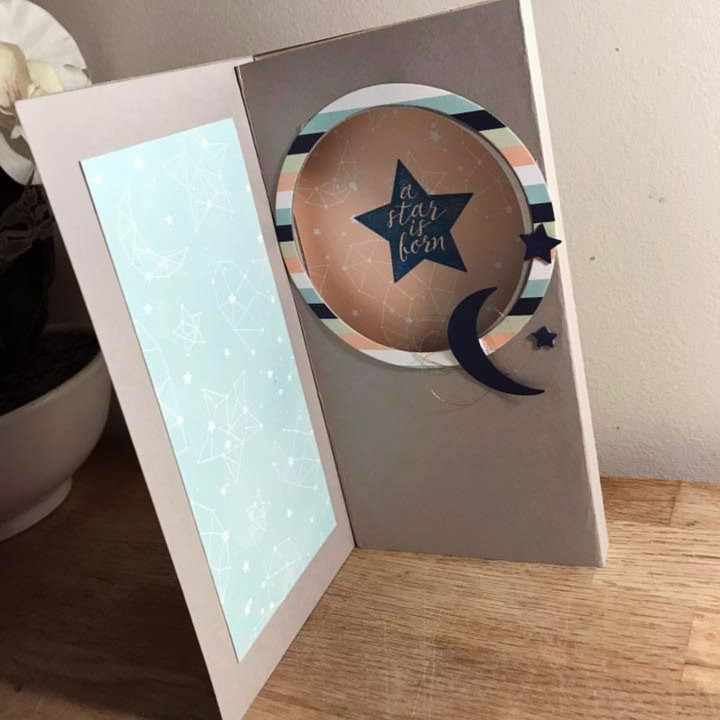
These six Thank-you cards will be going out to my customers <3
Ohh and don't forget to check ut the clearance rack ;) lots of goodies to be found

And I love the way it goes nicely with the Garden impressions designer papers!
These six Thank-you cards will be going out to my customers <3

And I love the way it goes nicely with the Garden impressions designer papers!
These six Thank-you cards will be going out to my customers <3
Ohh and don't forget to check ut the clearance rack ;) lots of goodies to be found